Tuesday, October 2, 2012

Halloween Shelf

A shelf above my stove top.

I saw these canisters at Krumpets and fell in love, they are so fun!

The middle pitcher I got at TJ Max a year ago, I placed some of them up on bowls to get some different heights. I then pushed the orange tulle, some black and orange leaf garland and some curly black wire rope threw it all. Simple.
I added a couple of fun spiders too.


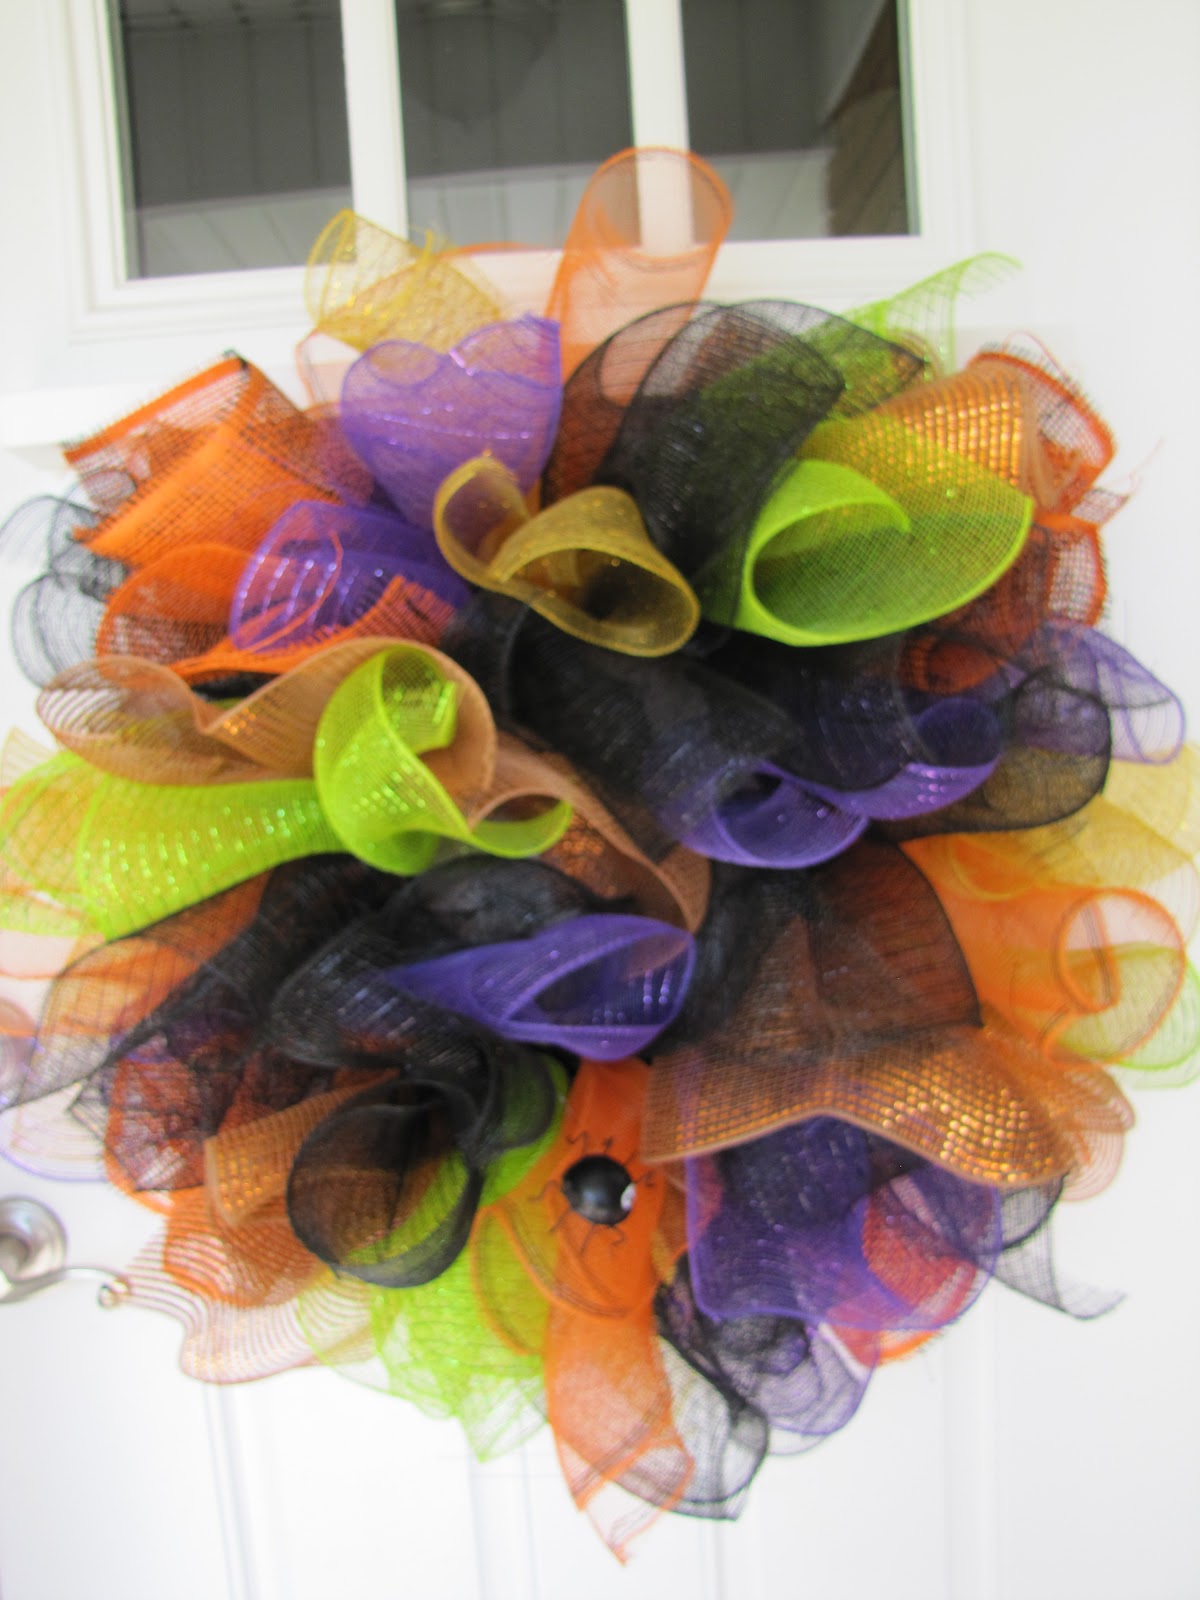
Simple but fun, I really like how it turned out.


Thursday, September 27, 2012

Halloween Tree!


I finally got to decorate my Halloween tree! My sister found this tree at Tai Pan for $24.00, and gave it to me-what a sweet heart! Also a Hi to my awesome sister in law Marilee and the words greatest Mother in law , Pat! We love you!!!
my mom gave me her left overs, and I started to thread the bead garland from top to bottom.

I found this at Tai pan too. I pushed it down threw the top.

The tree with the garland threaded threw it. push the garland in towards the center too.


The stuff I might use?
I used some black tulle, (I like the way the black tulle looks over ribbon because it has a spooky kind of feel to it) . I made a bow and fluffed it and wired it to the top. Then a had three long streamers flowing down and I just pushed them into the tree here and there.

I got these great sculls at TJ Max and pushed them into the tree, balance them out and spread them around.

Some fun signs I got at Krumpets, I had 3 so I placed them 1 high, 1 low and 1 medium and the three different sides of the tree.

So far so good.


Some awesome wooden ornaments and just about done.

Done! I love how it looks on my bar!


Wednesday, September 26, 2012

Halloween decorating just right!

Starting with my  Halloween decorating. First of all I want you to know that this dinning room hutch is actually my basement entertainment center with a & $100.00 side board put in the middle of it. I think is looks great together, so remember things can be what ever you want them to be. On the table are also 3 cake stands I bought at TJ MAX (my favorite place) , I took out the lime green ribbon and put in a black Halloween ribbon. Dusted everything and have it ready to go!

I grabbed a latter and started on top-the key to what I think looks good is layers. I put what ever I can find up there to bring things high, medium and then low, but everything is raised because you are all ways looking up so you have to see things.
See the Avon box under the pumpkin, I have 2 shoe boxes under the medium pumpkin and a big box under the small pumpkin and I also put it on a stand I bought at the thrift store for $1.00 and painted black.Then I covered it with a black sheer cloth and added the mums and greenery plus some loopy curtly black stuff?

Then I grabbed my green swag and wired a scull I bought at the dollar store, threaded lights threw it and then filled it in with a Halloween garland I bought at Krumpets and Orange glitter balls and hung 5 flying bats from it.

I did my layer thing again on the side board. I put a big box under the biggest cake stand, a smaller box under the medium one and nothing under the small cake stand. I love cake stands! If you ever see one for a good price grab it-they are wonderful for layering with! 


I then set up my Peanuts village, I don't have many pieces at all so setting them up this way helps it to look grander then it really is. For Halloween I use the moss a lot, I love the way it looks!

Then just add your fall leaves and floral, I have had some of my fall floral for at least 15 years! Don't try to buy everything at once, hit the after season sales and put it away because if you store it, it can last forever.

See the up side down black basket, I just cover it with this orange material I bought on sale last year.
Now just start filling the shelves in with your Halloween treasures. As you can see I love Jack the Pumpkin King! The plate is just a thrift store find with the letters BOO hot glued to it. I got the letters for $.99 at Micheals. The pillar candles I made from PVC pipe, I will post how.


Candles I got for $3.00 at a yard sale.


I love how it turned out! At night when it all lights up it looks great. I hung my straw and paper roses wreath here and I think it fits perfectly. 

So there you have it! Go have fun and remember if you try something new and just don't like it-sleep on it. The good fairy sometimes comes during the night and in the morning when you see it again, you just might like it! Seriously! We are our owns hardest critics, relax and remember it's your house, the only person who has to like it is you!


Tuesday, September 25, 2012

Halloween Wreath fun!


This is a quick cute wreath to make!
It looks so huge and just ....
FUN!

Start with  a hoop any size, this is a 14in cheep

 wooden hoop. I have black pipe cleaners cut 
in thirds.

Then get your mesh ribbon burlap, it's 21 inches wide

and 10 ft long. I used black, orange, copper,
purple, yellow and orange and black plaid,
but you could use just 3 colors if you wanted.
I marked 12 inches and started cutting.

If you layer it is a lot faster!

Grab it in the middle and fold it around the wooden hoop.

Just like this-easy.

Twist it secure with a pipe cleaner.

Now I did a pattern, one black in between two colored. You can do this any way you like, but I like the  black to be more dominant. Push it tight and make sure you twist your twists tight and secure.When you get all the way around it just fluff and smush until it looks just right!

I added a spider just for fun!

What I love about this is it can handle the outdoors,  it's a plastic kind of stuff and water, sleet, snow nor ice will hurt it . So on my front door it will hang. Check back in and see how it looks when I have my whole front porch done!


Thursday, September 20, 2012

My Craft Room, or as my husband calls it... My Crap Room

Ok now I go on Pintrest and see all of these gorgeous craft rooms, I start pinning like crazy and dreaming of a beautiful sanctuary to craft in....
Then I walk from my computer to my sanctuary...
What a load of CRAP, excuse my language, but there is no way a person can craft in that fairy princess craft room???? Am I right!?


I will say that everything in here is labeled with coordinating blue-green labels.(I fell pretty jazzed about that!)

Yep some of my "in the process" projects on the floor.
Here it is clean-O how I wish it could be that fairy princess shabby sheek craft room! But maybe not really-I love my no thrills craft room!


.